Space NK UK

Monday 24 February 2014

MAC Monday: Club eyeshadow

MAC Club Eyeshadow
MAC Club eyeshadow

I just had to choose MAC Club eyeshadow for the 10th installment of my MAC Monday series! Whenever someone asks for MAC eyeshadow recommendations this is always one of my first suggestions - a great addition to help fill up your pro-palette and something quite unusual to boot!

I actually have MAC Club as a single shadow rather than a pro-palette shade (I explained these in more detail in my MAC Cranberry eyeshadow post HERE). This is only because I bought it in duty free on my way to Rome last summer and they only had the singles. It is more convenient to have the pro-palette shades, but hey the singles do look much better in photos!

MAC Club Eyeshadow duo chrome effect
MAC Club Eyeshadow swatch


Tuesday 18 February 2014

I got an award!


So I was given the Liebster Award by Beauty King UK!! Thank you so much!
 

For those of you who don't know, the award is for newish bloggers with a smaller audience - shall we call this 'boutique'...? The person who nominates you chooses some questions for you to answer so that everyone can get to know a little more about you and you can spread the love. So here goes, here are my answers to Beauty King UK's questions:

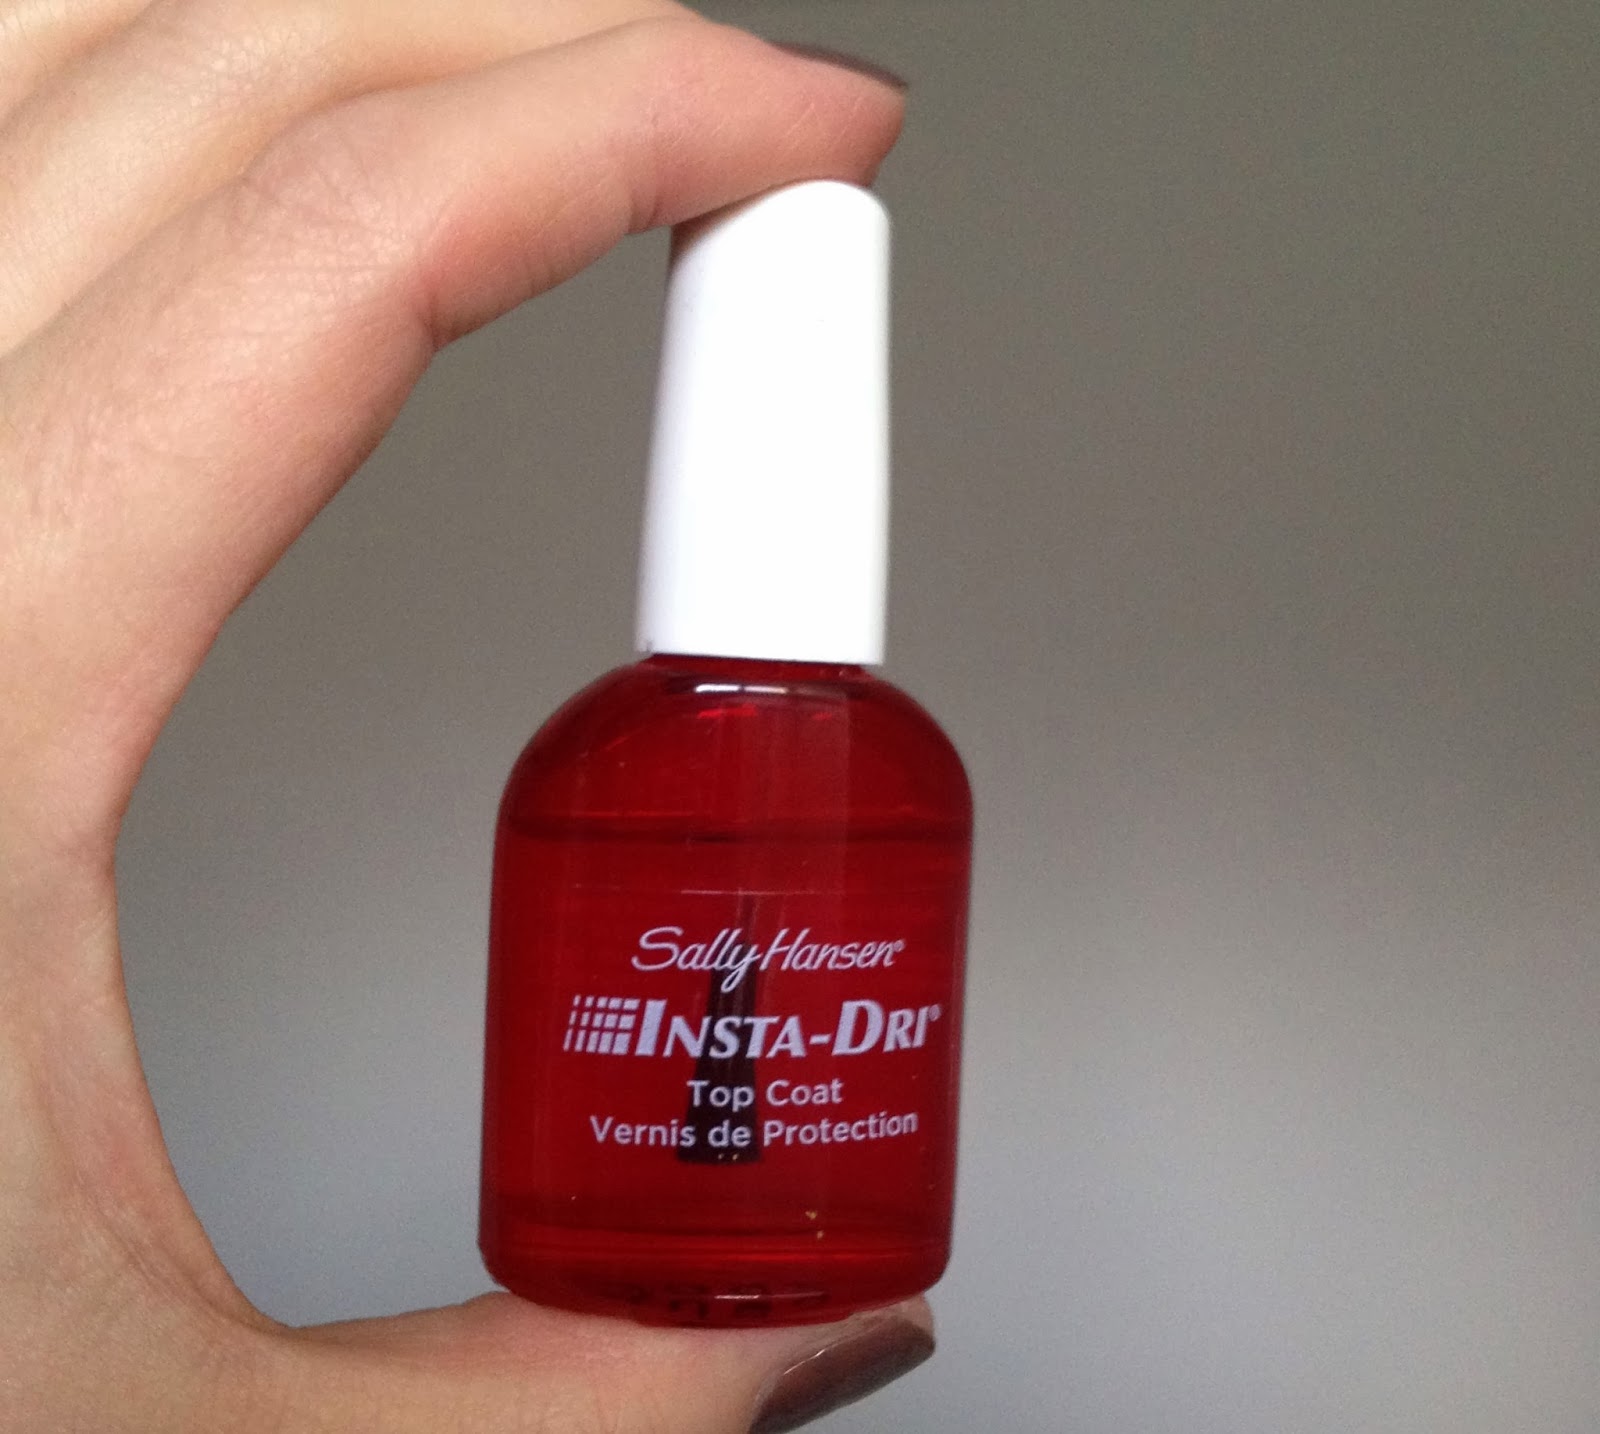
Sally Hansen Insta Dri Top Coat

Sally Hansen Insta Dri Top Coat


Let's be honest - I have two small children and frankly finding time to paint my nails is tough.

When I do manage it, inevitably something needs doing before my nails have dried properly and sure enough the polish smears or chips. I started painting them before I went to bed, only to wake up with the imprint of the duvet cover in my polish. Frustrating!!

Then I read blogger's reviews about fast drying top coats. There was mention of one called Seche Vite (£9.95 for 14ml HERE). It sounded good, but expensive. But on the downside reviews also suggested it contained some undesirable chemicals and the bottle tended to go gloopy half way through. So I kept looking.

Then I came across Sally Hansen Insta Dri Top Coat (£5.05 for 13.3ml HERE). I'd never used a Sally Hansen product before (well except maybe nail polish remover) but I knew it was brand that was just about nails. Reviews were good, it was half the price of Seche Vite so I thought I would give it a go.

The formula is an acrylic polymer which dries the nail polish in 30 seconds. It has a UV filter and keeps colours true with no yellowing or fading. The top coat also gives a really good shine and smooth glossy finish to your nails, which I love!

Sally Hansen Insta Dri Top Coat


I'm no chemist so I don't know exactly how it works, but I recall reading somewhere that the formula soaks through the layers of polish and 'sets' them. It does what it claims and it is certainly impressive! You just apply your polish as normal and after your last coat wait 2 minutes and apply the Insta Dri Top Coat over the top.

It is a thick clear formula which applies well and seems to level out by itself giving a good coverage. It really does set the nail in 30 seconds so you don't end up with dents or finger prints if you accidentally touch something. I would say that whilst it sets the top layer quickly the underneath layers take longer to dry. Don't go expecting to do manual work after 30 seconds with no repercussions - you can still slide the polish off of your nail if you aren't careful.

Insta Dri has completey revolutionised my nail polish routine. Sadly it won't take care of my children for me whilst I pamper myself. But it means I can grab 10 minutes before I go to bed to paint my nails and not worry about imprinting the weave of my duvet into my nails. It also great for your toe nails - no more hours of cold winter feet waiting to put your socks back on, or sitting still so you don't scuff the polish as you rush around.

I'm on my second bottle and I will admit the first bottle did get quite gloopy about half way through so I had to abandon it and buy another. But at half the price of Seche Vite I really didn't mind.

If my time pressured nail painting sounds familiar or you are just impatient then Sally Hansen Insta Dri Top Coat is the one for you! I've found it at Feelunique HERE a little cheaper than it is in Boots.

Have you tried Sally Hansen Insta Dri? How do you think it compares to Seche Vite? If you have any other tips for speedy nails then send them my way!!

Monday 17 February 2014

MAC Monday: Prep + Prime Skin

MAC Prep + Prime Skin


I have been experimenting with primers recently (did you see my half and half face experiment HERE?) so it seemed only fitting to dedicate this week's MAC Monday to my MAC Prep + Prime Skin.

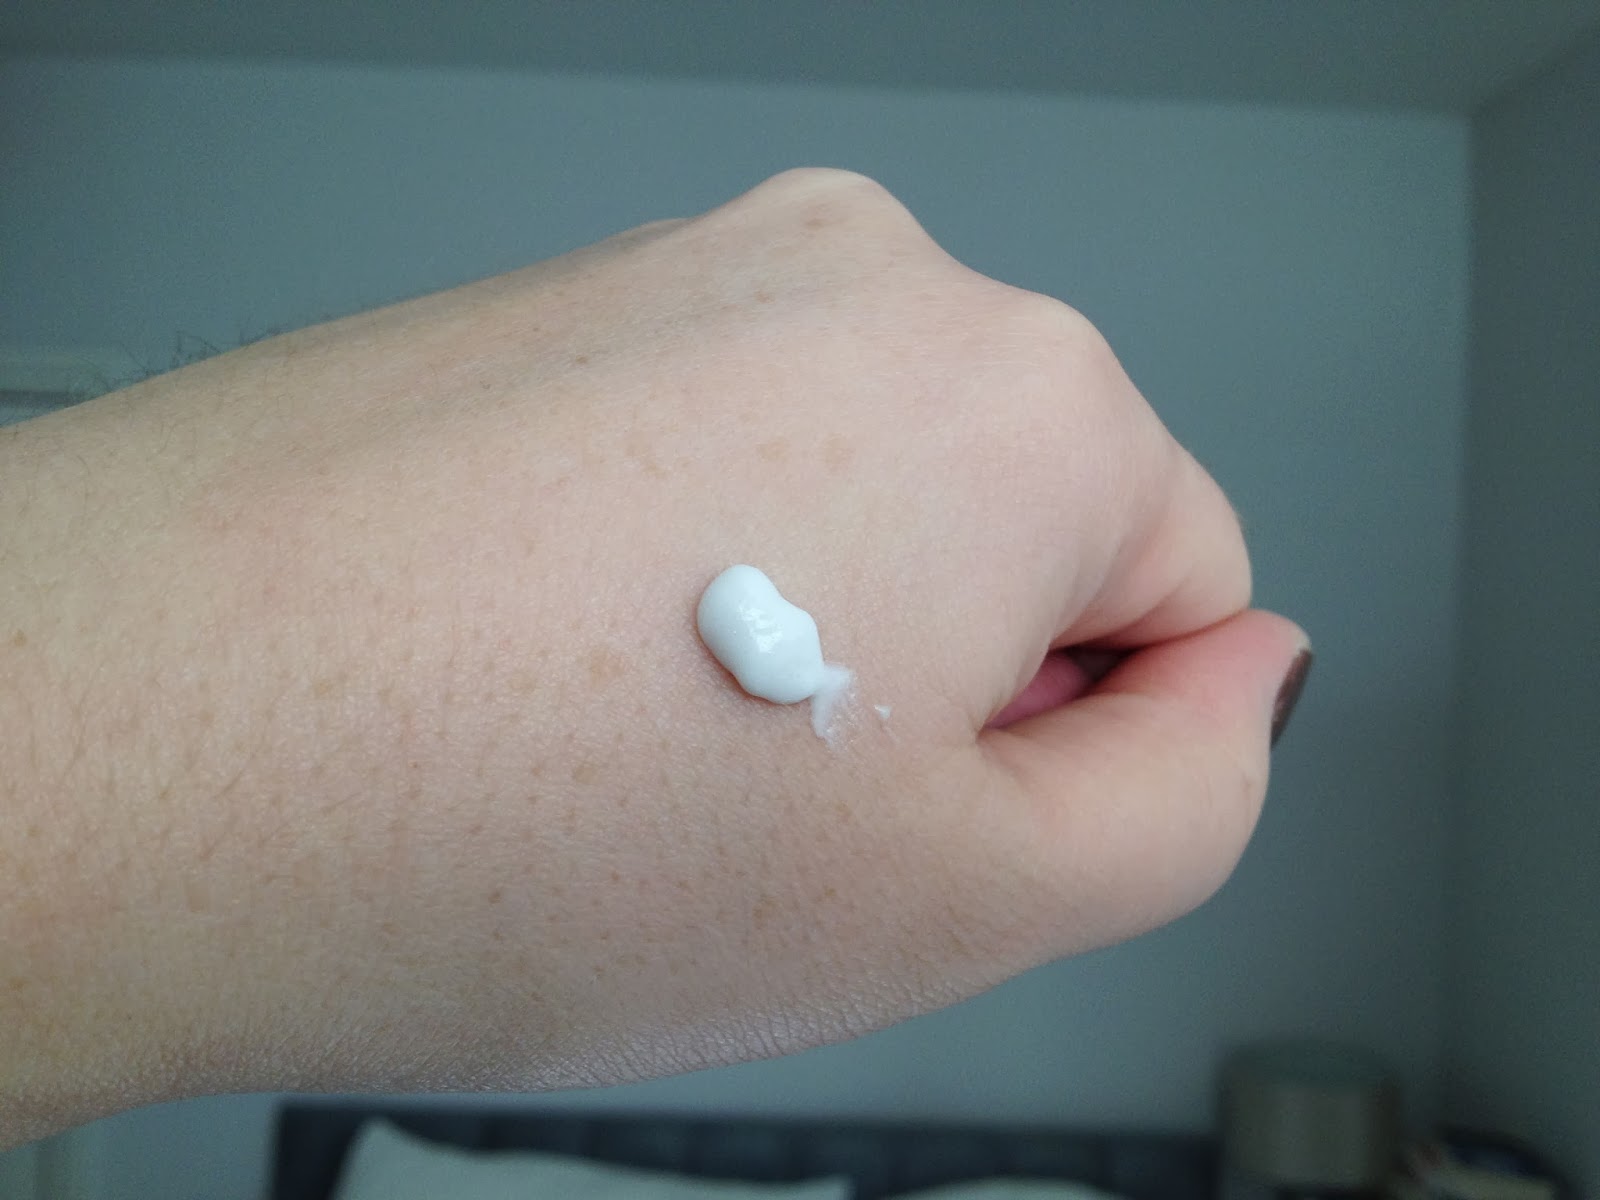
MAC Prep + Prime Skin was the first primer that I bought. MAC describe it as an ultra-fluid lotion with special-effect silicones. They say it calms and soothes skin, tones down redness, blots excess oil and creates a good base for your foundation. I would describe the texture as like a whipped mousse. It applies really well, very much like a moisturiser does. When I first swatched it on my hand it had a real shimmer to it, but this doesn't translate onto your face. It feels light on the skin and is not sticky.

MAC Prep and Prime Skin swatch
MAC Prep + Prime Skin swatch

I love the packaging! The black plastic cylinder has a slight shimmer to it if you catch it in the light. It has a pump action and generally 1-2 pumps is sufficient for your face. The downside of this though is that I have no idea how much product is left inside. One day I will go to pump it and it will be gone - so infuriating.

I don't tend to buy MAC skin care, foundation or concealer products. They have mixed reviews and I usually stick to their eye shadows and lipsticks which I feel are what they do best! But I like this primer, it feels nice on the skin and I use it when I want a lighter feeling primer than my favourite Smashbox Primers.

I wanted to choose MAC Prep + Prime Skin for my MAC Monday post as it is a departure from all of the other MAC products I own. That said, whilst I do like it - when its all gone I don't know if I will repurchase it. Primers are useful but I'm not fanatical about them and frankly I haven't found a better primer than my Smashbox Colour Corrector Primer. After all, how many do you need? I can't say I have the same control around the MAC eyeshadow and lipstick counters though.... (I need them all!!).

MAC Prep + Prime Skin is £20.50 for 30ml HERE.

How do you think MAC Prep + Prime Skin compares with other primers? Would you recommend any MAC skincare products?

Fancy having a little nosey through my other #MACMonday posts?

MAC Fanfare Lipstick HERE

MAC Huggable Lipcolour in Out For Passion HERE
MAC Soft Brown Eyeshadow HERE
MAC Pro Longwear Paint Pot in Let's Skate HERE
MAC Cranberry Eyeshadow HERE
MAC Huggable Lip Colours in Fresh and Frisky HERE
MAC Brick-O-La Lipstick HERE
MAC Divine Night Fluidline in Deliciously Rich HERE

Fancy joining in #MAC Monday? Then send or tweet me your MAC links (#MACMonday) and I will link to them here!

Tuesday 11 February 2014

Rimmel Match Perfection Concealer: A Review


I've been asked a few times recently to recommend a concealer that doesn't crease under the eyes. I have always suffered from dark circles under my eyes and use concealer every day. This is an easy choice for me - I always recommend my current go-to concealer and thought I should post a proper review about it!

I've been using Rimmel's Match Perfection Concealer for 2 and a half years now. It lasts for ages but I'm about to start my third tube. I have so many cosmetics kicking around that I rarely finish anything let alone re-purchase. So this should be a good indication that this concealer does its job!

In the past I have tried all different types of concealer. I of course have YSL's Touche Eclat (HERE) and have tried Clinique's version which is the Airbrush Concealer (HERE). I do like YSL's Touche Eclat but this is better used as a highlighter. I found that the coverage it gives isn't sufficient to hide my dark circles, and ditto to the Clinique version. Aside from the £25 price tag on Touche Eclat I do find it quite annoying that you have no idea how much product is left! One day you get a nasty surprise when the click dispenser stops working and you realise it has all gone - not ideal for a daily use product.

I also tried one of Clinique's tube concealers designed to give greater coverage (I think it was this one, although it was a couple of years ago so forgive me if it was it's predecessor). But I found this very thick to apply and it creased really badly under my eyes.

Having heard bloggers rave about it I also tried Collection 2000's Lasting Perfection Concealer. I was actually really happy with this, especially as it is a bargain at just £4.19 (HERE). My main gripe was that the tube has a dip in wand style applicator, which some people find unhygienic. But for me it meant that too much product collected in the lid and gradually seeped out of the screw-on lid. This meant that my entire make up bag and everything in it became coated and I lost my patience with it!

I don't really suffer with break outs or blemishes, so I use concealer for my dark circles and to disguise any redness around my nose or eyes. What I want from a concealer is to adequately cover up the discolouration, to dispense a small amount of product so I'm not wasting lots of it or risking putting too much on. I also want it to apply smoothly without tugging at the delicate skin under my eyes. Finally I want it to blend easily without losing it's coverage. I have found that Rimmel's Match Perfection manages all of these demands well!

Rimmel Match Perfection Concealer Applicator: Just squeeze to get the product onto the brush!


Rimmel's Match Perfection Concealer comes in a 7ml squeezy tube. The applicator is a soft brush that you apply the product directly to your skin with. You just gently squeeze the tube to push a little product into the brush. This means you can control the amount of product, plus the screw on cap covers up the messy bit and stops any product getting onto anything nearby. I generally blend the concealer easily with my finger, although recently I have been using my new Real Techniques Expert Face Brush to do the job (see my Expert Face Brush review HERE).

Rimmel's Match Perfection Concealer swatch in 030 Classic Beige


Rimmel's Match Perfection Concealer comes in three different shades: Ivory, Classic Beige and Soft Beige. It is designed to adapt to your exact skin tone and can also be used as a highlighter. I have fair skin and I use Classic Beige which has worked perfectly for me all year round. To give you an idea for comparison - I use B20 in Chanel Vitalumiere Aqua Foundation and 52 in Bourjois Healthy Mix Foundation (take a look at findation.com if you want to see how these shades translate into other foundation brands and shades you are familiar with).

I really like this concealer and it has never creased under my eyes - after all who wants to highlight their creases and wrinkles!

Have you tried this concealer? What did you think?

Rimmel's Match Perfection Concealer is £5.99 HERE.

Monday 10 February 2014

MAC Monday: Fanfare Lipstick


For this week's MAC Monday it just had to be my most recent MAC discovery: MAC Fanfare Lipstick!

I recently posted about trying to find the beautiful warm pink lipstick I saw on a TV advert (HERE). Well as it happens I have found it! I can thank Kate at Ghostparties for this one as she recently posted about MAC Fanfare and I just had to have it!

MAC Fanfare is a Cremesheen so it is a moisturising and creamy formula but with a good colour payoff. The colour is opaque rather than sheer. I have mentioned before that I struggle with blue toned pinks, but this is a warm yellowy pink and really suits my complexion.

MAC Fanfare Lipstick

Like all MAC Lipsticks there is a lovely vanilla scent and the lipstick is packaged in black plastic bullet-shaped packaging. The wear time isn't bad - a few hours depending on whether you are eating or drinking. Obviously I would love a better wear time because I am lazy at reapplying, but unless you have a drier formula then it is hard to find. (The MAC Huggable Lipcolours aren't bad though as they are a gel type formula which really does seem to 'cling' to your lips, although the colour is less opaque: see my reviews HERE and HERE).

Having just started my new job I know that MAC Fanfare is going to be a perfect daytime office-appropriate shade. I may have to persevere with re-application though to keep it looking good all day.

MAC Pink Lipsticks: Fanfare, Hue, Patisserie & Viva Glam V

Pink lipstick is a new area of exploration for me. For a long time I wrote them off as something I couldn't wear, for fear of looking like a dotty old lady. But I really am starting to embrace them now. Swatched against my other more natural pink toned MAC lipsticks you can see the warm colour of Fanfare.

Dupe? L-R: Rimmel Let's Get Naked & MAC Fanfare Lipstick

Rummaging further into my lipstick stash the closest colour that I have is a Rimmel Moisture Renew Lipstick in Let's Get Naked. The colours are close but not complete dupes. The Rimmel lipstick is an even more moisturising formula than MAC's Cremesheen - and the staying power is still really good!

MAC Fanfare is £15 HERE and if the pennies are tight then Rimmel's Moisture Renew Lipstick in Let's Get Naked is a similar shade and just £6.49 HERE.

Want more MAC inspiration? Then look at my previous #MACMonday posts:

MAC Huggable Lipcolour in Out For Passion HERE
MAC Soft Brown Eyeshadow HERE
MAC Pro Longwear Paint Pot in Let's Skate HERE
MAC Cranberry Eyeshadow HERE
MAC Huggable Lip Colours in Fresh and Frisky HERE
MAC Brick-O-La Lipstick HERE
MAC Divine Night Fluidline in Deliciously Rich HERE

Don't forget, if you want to join in MAC Monday send or tweet me your links (#MACMonday) and I will link to them here!

Sunday 9 February 2014

To the Test: Maybelline Baby Skin vs Benefit's The Porefessional


Pores, pores, PORES! It is all I see when I look in the mirror nowadays. For years I have not given them a thought but now there are two much-hyped products which are drawing my attention to them. Does it really even matter if they are visible? I was certainly keen on the claims of smoother even looking skin so I had to give them a go.

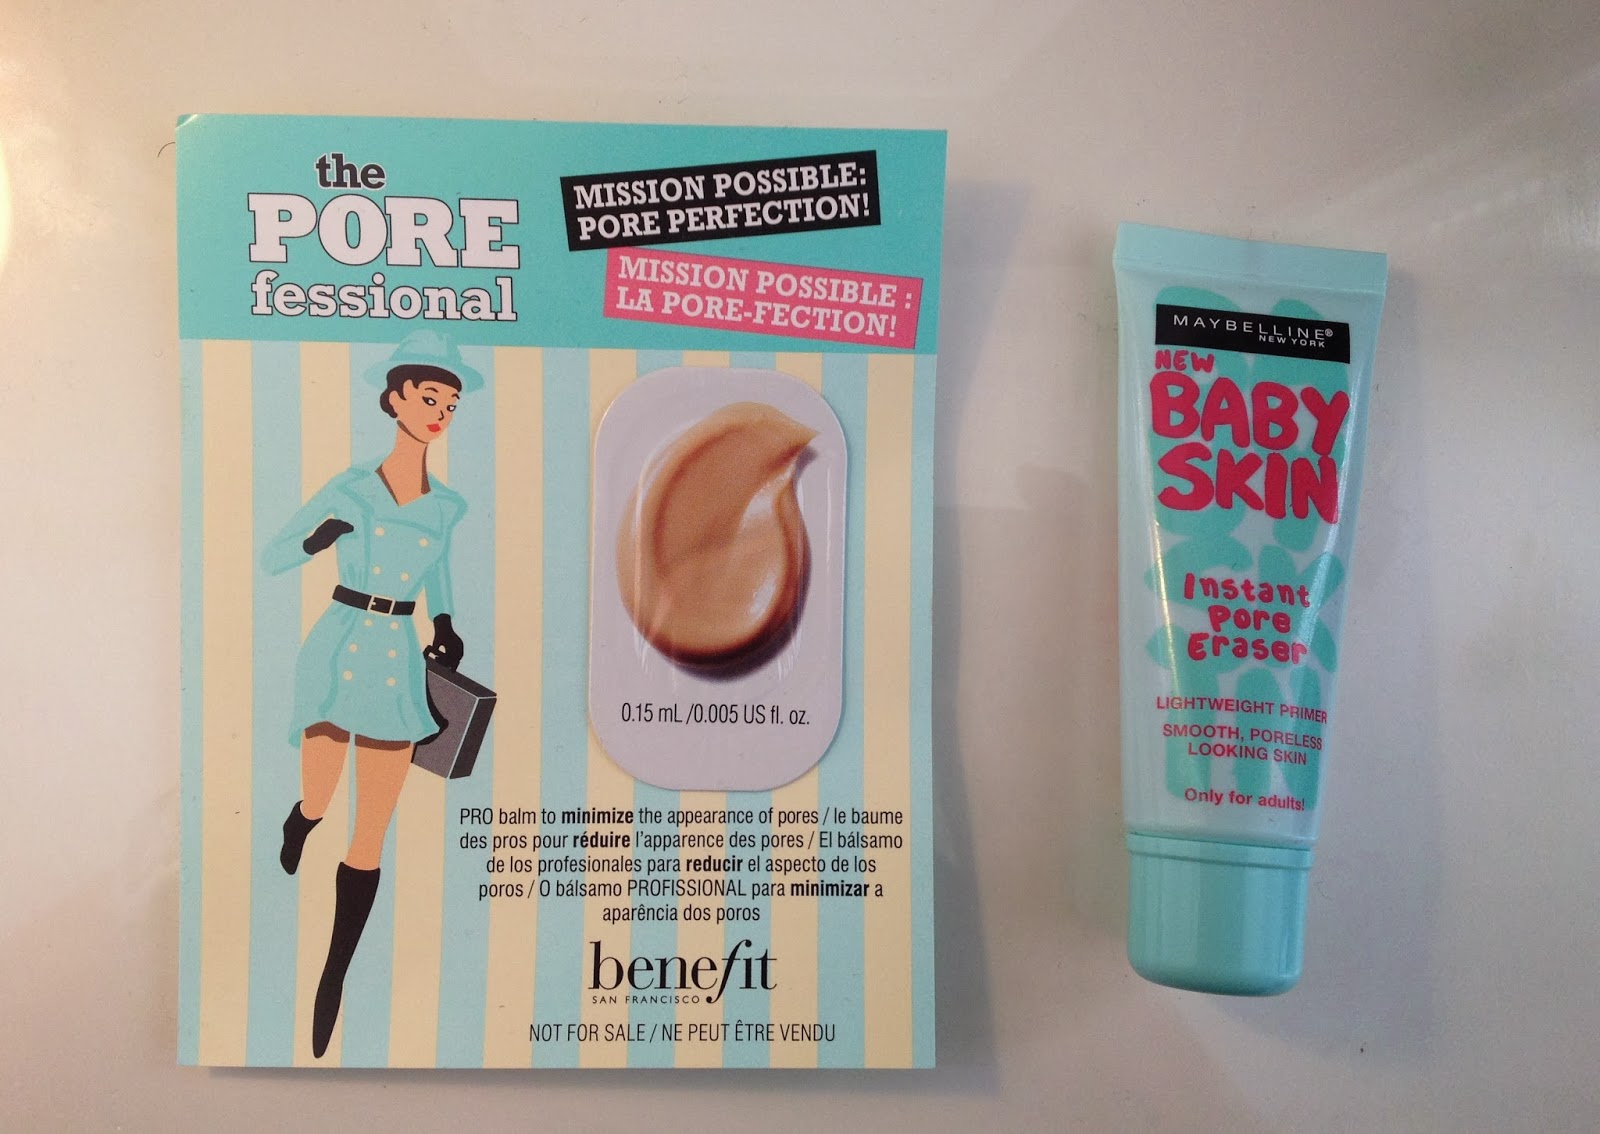
I bought Maybelline Baby Skin Instant Pore Eraser for £7.99 for 22ml from Boots (HERE). I received a sample of Benefit's The Porefessional as part of a recent Twitter promotion Benefit were running. It has similar claims to Maybelline's Baby Skin so my inner scientist thought it was a good idea to try them out together... *Warning: Contains extreme pore photographs and bad skin moments... (well don't say you weren't warned)*


To keep things on an even playing field I applied Maybelline Baby Skin to one half of my face and Benefit The Porefessional to the other. I then applied my Bourjois Healthy Mix Foundation as usual, all over my face using my Real Techniques Expert Face Brush (review HERE).

Top: Maybelline Baby Skin    Bottom: Benefit The Porefessional


First impressions of the two products were that they were quite different. Maybelline Baby Skin is a clear silicone type gel which acts as a light weight primer. It applies nicely and doesn't feel heavy on the skin. Benefit's The Porefessional is a tinted product which feels more like a cream than a gel, it blends in well and the finish becomes matte in a cream-powder way (but it doesn't feel drying on the skin). It felt quite silky to the touch. Neither product has any fragrance or shimmer.

Once blended the matte nature of Benefit's The Porefessional becomes evident. Maybelline Baby Skin is not shiny but to the touch it has a moisturising gel feel to it rather than the powder finish feel of Porefessional. Once blended the tint of The Porefessional isn't really apparent, although I did feel that it disguised some pale freckles that I had.

Under foundation, I felt that the half of my face where I'd used The Porefessional was very matte - it made me look more made-up and my make up look heavier. To be honest I wasn't really comfortable with that. The half of my face that had Maybelline Baby Skin looked fine and still had a slight gel feel to the touch.

After a couple of hours I went to examine my skin closely in the mirror. I noticed that the foundation on the Porefessional side of my face (on the left in the photo below), was now clinging to dry patches. It looked slightly cakey too. In the name of science here is a dreadful photo of my skin and the dry patch in question. See what I mean? Yep you can see that the cakey-ness.

Foundation clings to dry skin on the left of my face - where I'd used Benefit's The Porefessional


By the evening I have to say I really couldn't see any difference between each side of my face. My foundation had faded on both sides. I would say that my skin still felt more gel-like on the Maybelline Baby Skin side, although it was in an oily kind of way.

You may have noticed by now that the one thing I really haven't mentioned is PORES! I think that when you stare at your pores in the mirror it becomes quite difficult to ascertain how they looked before you applied the product. Luckily I took some hideous close up horror pictures of my pores before and after. So here they are: The money shots!

On the left half: Benefit The Porefessional   On the right half: Maybelline Baby Skin. Before pore product, after pore product & after product with foundation also applied


When I look at these photos next to each other I can see an improvement after I applied the products. Both products initially gave a more even look to my skin and pores are less visible! But if I am honest in the flesh I didn't really notice. Looking at the last photo where I have also applied foundation over the top I can start to see a little patchiness in the foundation on the left side where The Porefessional was applied. But there isn't a great deal of difference between the two products immediately after application.

Whilst I like the cream-to-powder silky finish of Porefessional when swatched on my hand, it didn't work on my face. I didn't like the over made-up matte look it gave me and I certainly didn't like how it clung to (previously unnoticed!) dry-skin.

And the winner is.......

For the sake of this experiment my vote goes to Maybelline Baby Skin - not least because it is £7.99 vs £24.50 for Benefit's The Porefessional. I don't think there was anything drastically different between the two performance wise so I don't see why you would pay the extra. Perhaps The Porefessional would work better on oily skin because of the mattifying effect. I do think Maybelline Baby Skin would be a bit too heavy for an oily skin and the silicone type feel would not be a good fit.

However, whilst I think Maybelline Baby Skin is a decent drugstore primer I don't think it compares to my favourite Smashbox Primers. I think I can feel another experiment coming on....

Have you tried any of these? How did they suit your skin type, do you think it helped disguise pores?

Maybelline Baby Skin Instant Pore Eraser is £7.99 for 22ml HERE. Benefit The Porefessional is £24.50 for 22ml HERE. Smashbox Primers are £25 for 30ml HERE.

Monday 3 February 2014

MAC Monday: Huggable Lipcolour in Out For Passion

MAC Huggable Lipcolour in Out For Passion
 
I couldn't help it! I had to buy another one! You may've seen my MAC Monday post a few weeks ago about MAC's Huggable Lipcolour in Fresh & Frisky (HERE) and I have been loving it so much I wanted to try some other colours.

The Huggable Lipcolour is a shiny balm but it has more of a gel feel on the lips. It is not sticky, colour is not fully opaque but can be built up and it is really moisturising. At this time of year my lips are dry and I have struggled with some of my matte lipsticks but as the name suggests, these really do hug my lips and feel quite soothing.


MAC claim the colour lasts up to 6 hours. I don't think this is true, but the colour and shine does last longer than other creamy lipsticks by MAC. As the colour fades it does so evenly and leaves a slight shine behind. The nicest thing is that as the colour fades the balm feeling stays on your lips so you don't feel completely 'naked' between top ups!

The Huggable Lipcolours were released a few weeks ago and are only a limited edition collection. Most of the colours have annoyingly but predictably already sold out! My favourite is Fresh & Frisky which was my first purchase - remarkably this is one of the few colours still left in stock! It is a natural peach colour which is subtle but brightens your face and is perfect for spring / summer.


When I decided to give in to the urge and buy another one, I wanted to buy a pink one. Yes, I know - Pink! If you read my post about my fear of pink lips and the search for the perfect pink pout (HERE) you will know this is an unusual choice for me. But I was so drawn to the natural pink in the Huggable Lipcolour advertising image above that I HAD to try it.

It turns out that the soft pink colour is called What A Feeling and is completely sold out everywhere... Perhaps some MAC counters may have some in store but unless this comes back as a permanent collection I will have to miss out. Having looked at images online it is a cool blue toned pink, so perhaps it wouldn't be my kind of colour in real life. It just looks so incredible in that photo!

Whilst looking at swatches online I became really drawn to rosy pink called Out For Passion. Again it was hard to track down as it was sold out everywhere, but eventually I found online at Selfridges HERE (I had to pay £4.95 delivery mind you but I decided it was worth it...).

MAC Huggable Lipcolour in Out For Passion

Out For Passion is a lovely soft warm slightly coral tinged deeper pink colour. It looks brighter on me than I thought it would (I did mention my fear of pink lips!), but it is natural enough for everyday wear. There are some much brighter colours in the collection if you are braver with bold lips than I am. If I had known that I would like the formula so much when they first came out I would've snapped them all up!

MAC Huggable Lipcolour L-R Out For Passion and Fresh and Frisky

MAC Huggable Lipcolour L-R Out For Passion, Fresh & Frisky


I am surprised that they have received mixed reviews, but I think some people prefer a bold matte lip and find these a waste of time. Personally I love the gel feel (like the YSL Glossy Stains feel once they have 'set') and I love balm crayons, but I hate when colours just don't last. So these work well for me!

I also love the sleek metal packaging and the feel of the lipstick as you apply it (it is quite solid rather than slipping all over the place).

I can only hope that MAC decide to introduce these into their permanent line as I have a feeling that these might be one of the first lipsticks that I actually finish! In the meantime I might have just possibly sneaked the nude shade Touche into a recent Debenhams order I made...... (I will keep you posted how that one works out!).

If you want one then hurry as stocks are pretty low - MAC Huggable Lipcolours are available at:

  • Debenhams (only Fresh & Frisky, Touche and Fashion Force): HERE 
  • House of Fraser (only Fresh & Frisky): HERE 
  • MAC (only Fresh & Frisky, Fashion Force & Red Necessity): HERE
  • and if you don't mind the expensive delivery charge - Selfridges HERE.

If you are a lover of all things MAC then why not check out my previous #MACMonday posts:

MAC Soft Brown Eyeshadow HERE
MAC Pro Longwear Paint Pot in Let's Skate HERE
MAC Cranberry Eyeshadow HERE
MAC Huggable Lip Colours in Fresh and Frisky HERE
MAC Brick-O-La Lipstick HERE
MAC Divine Night Fluidline in Deliciously Rich HERE

Don't forget, if you want to join in MAC Monday send or tweet me your links (#MACMonday) and I will link to them here!

Have you tried MAC's Huggable Lipcolours? These are definitely my favourite MAC products at the moment, but come on inspire me (or should I say enable me....) - what are your favourites?